Appearance
Manage characters
Characters are project-wide story speakers, including the narrator. Reuse the same character across chapters to keep names, profiles, and voice assignments consistent.
Open Characters
Open Characters in the creation page's sidebar. Search or filter the list and select a character to inspect its profile, assigned voice, and lines. Character entries are different from the permission Roles assigned to crew members.
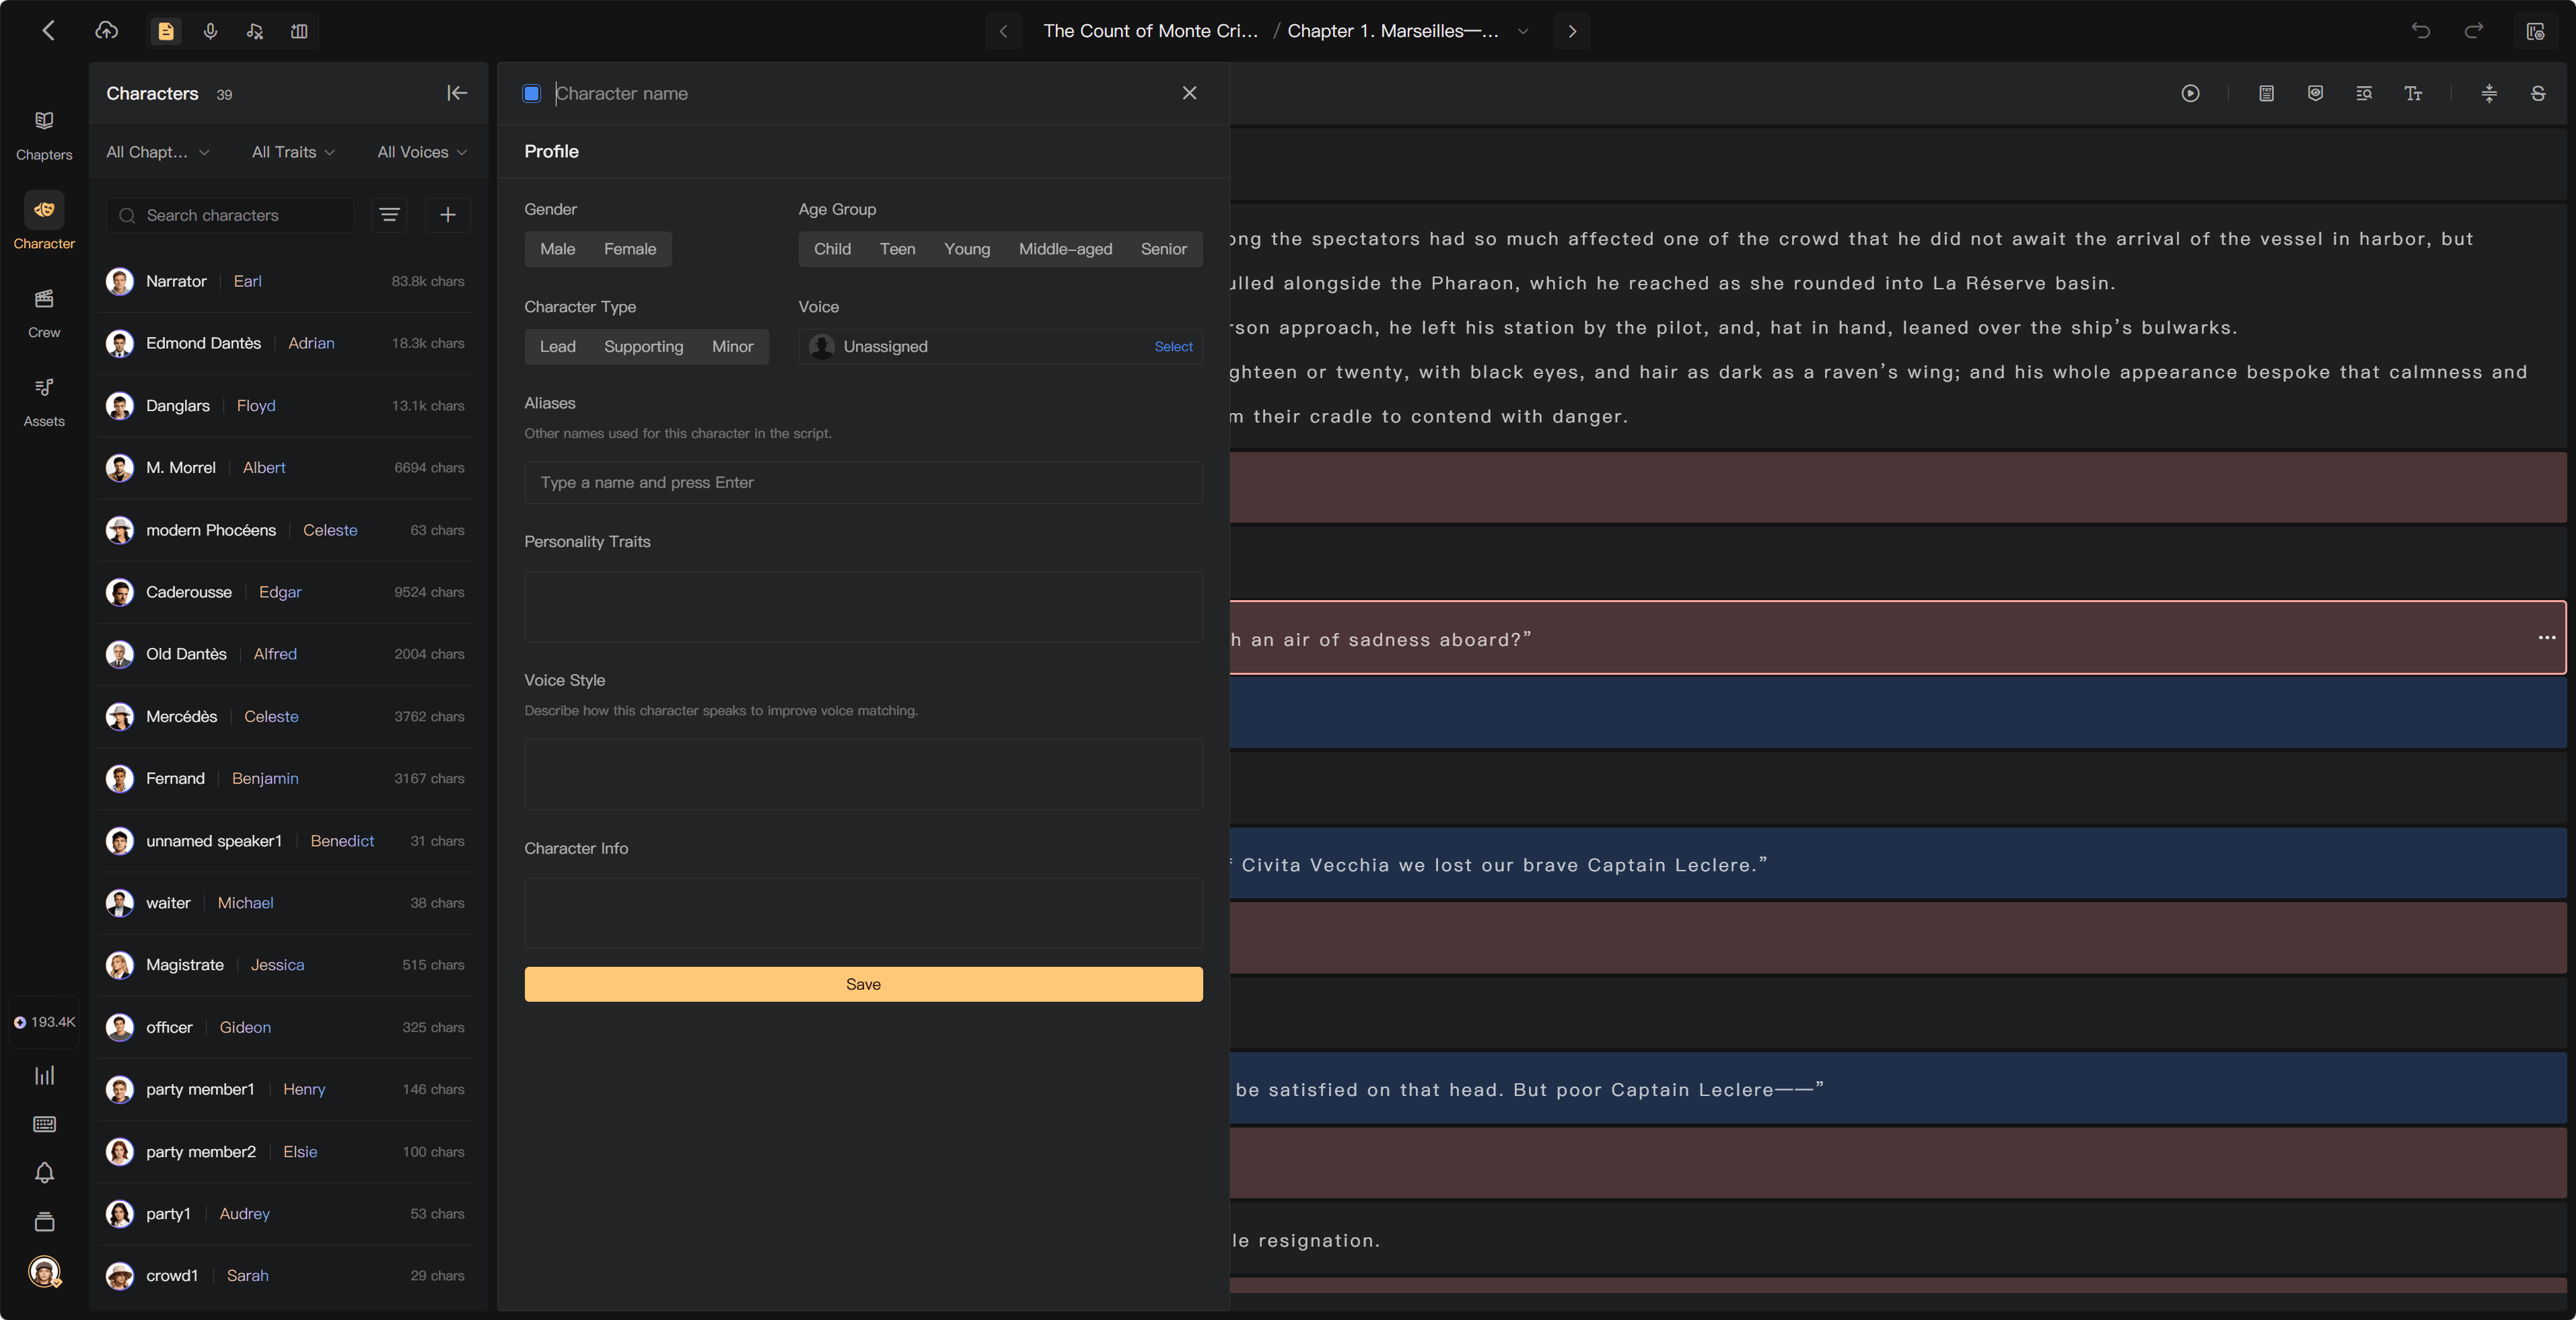
Create a character
- Use New Character or the add action in Characters. You can also create a character through a segment's character-selection flow.
- Enter a recognizable name, such as “Narrator,” “Elizabeth,” or “Station Announcer.”
- Complete gender, age group, character type, and other profile fields offered by the form.
- Save, then check or assign the intended script segments.
A character created through a segment's selection flow can be assigned directly to that segment. Check the assignment afterward.
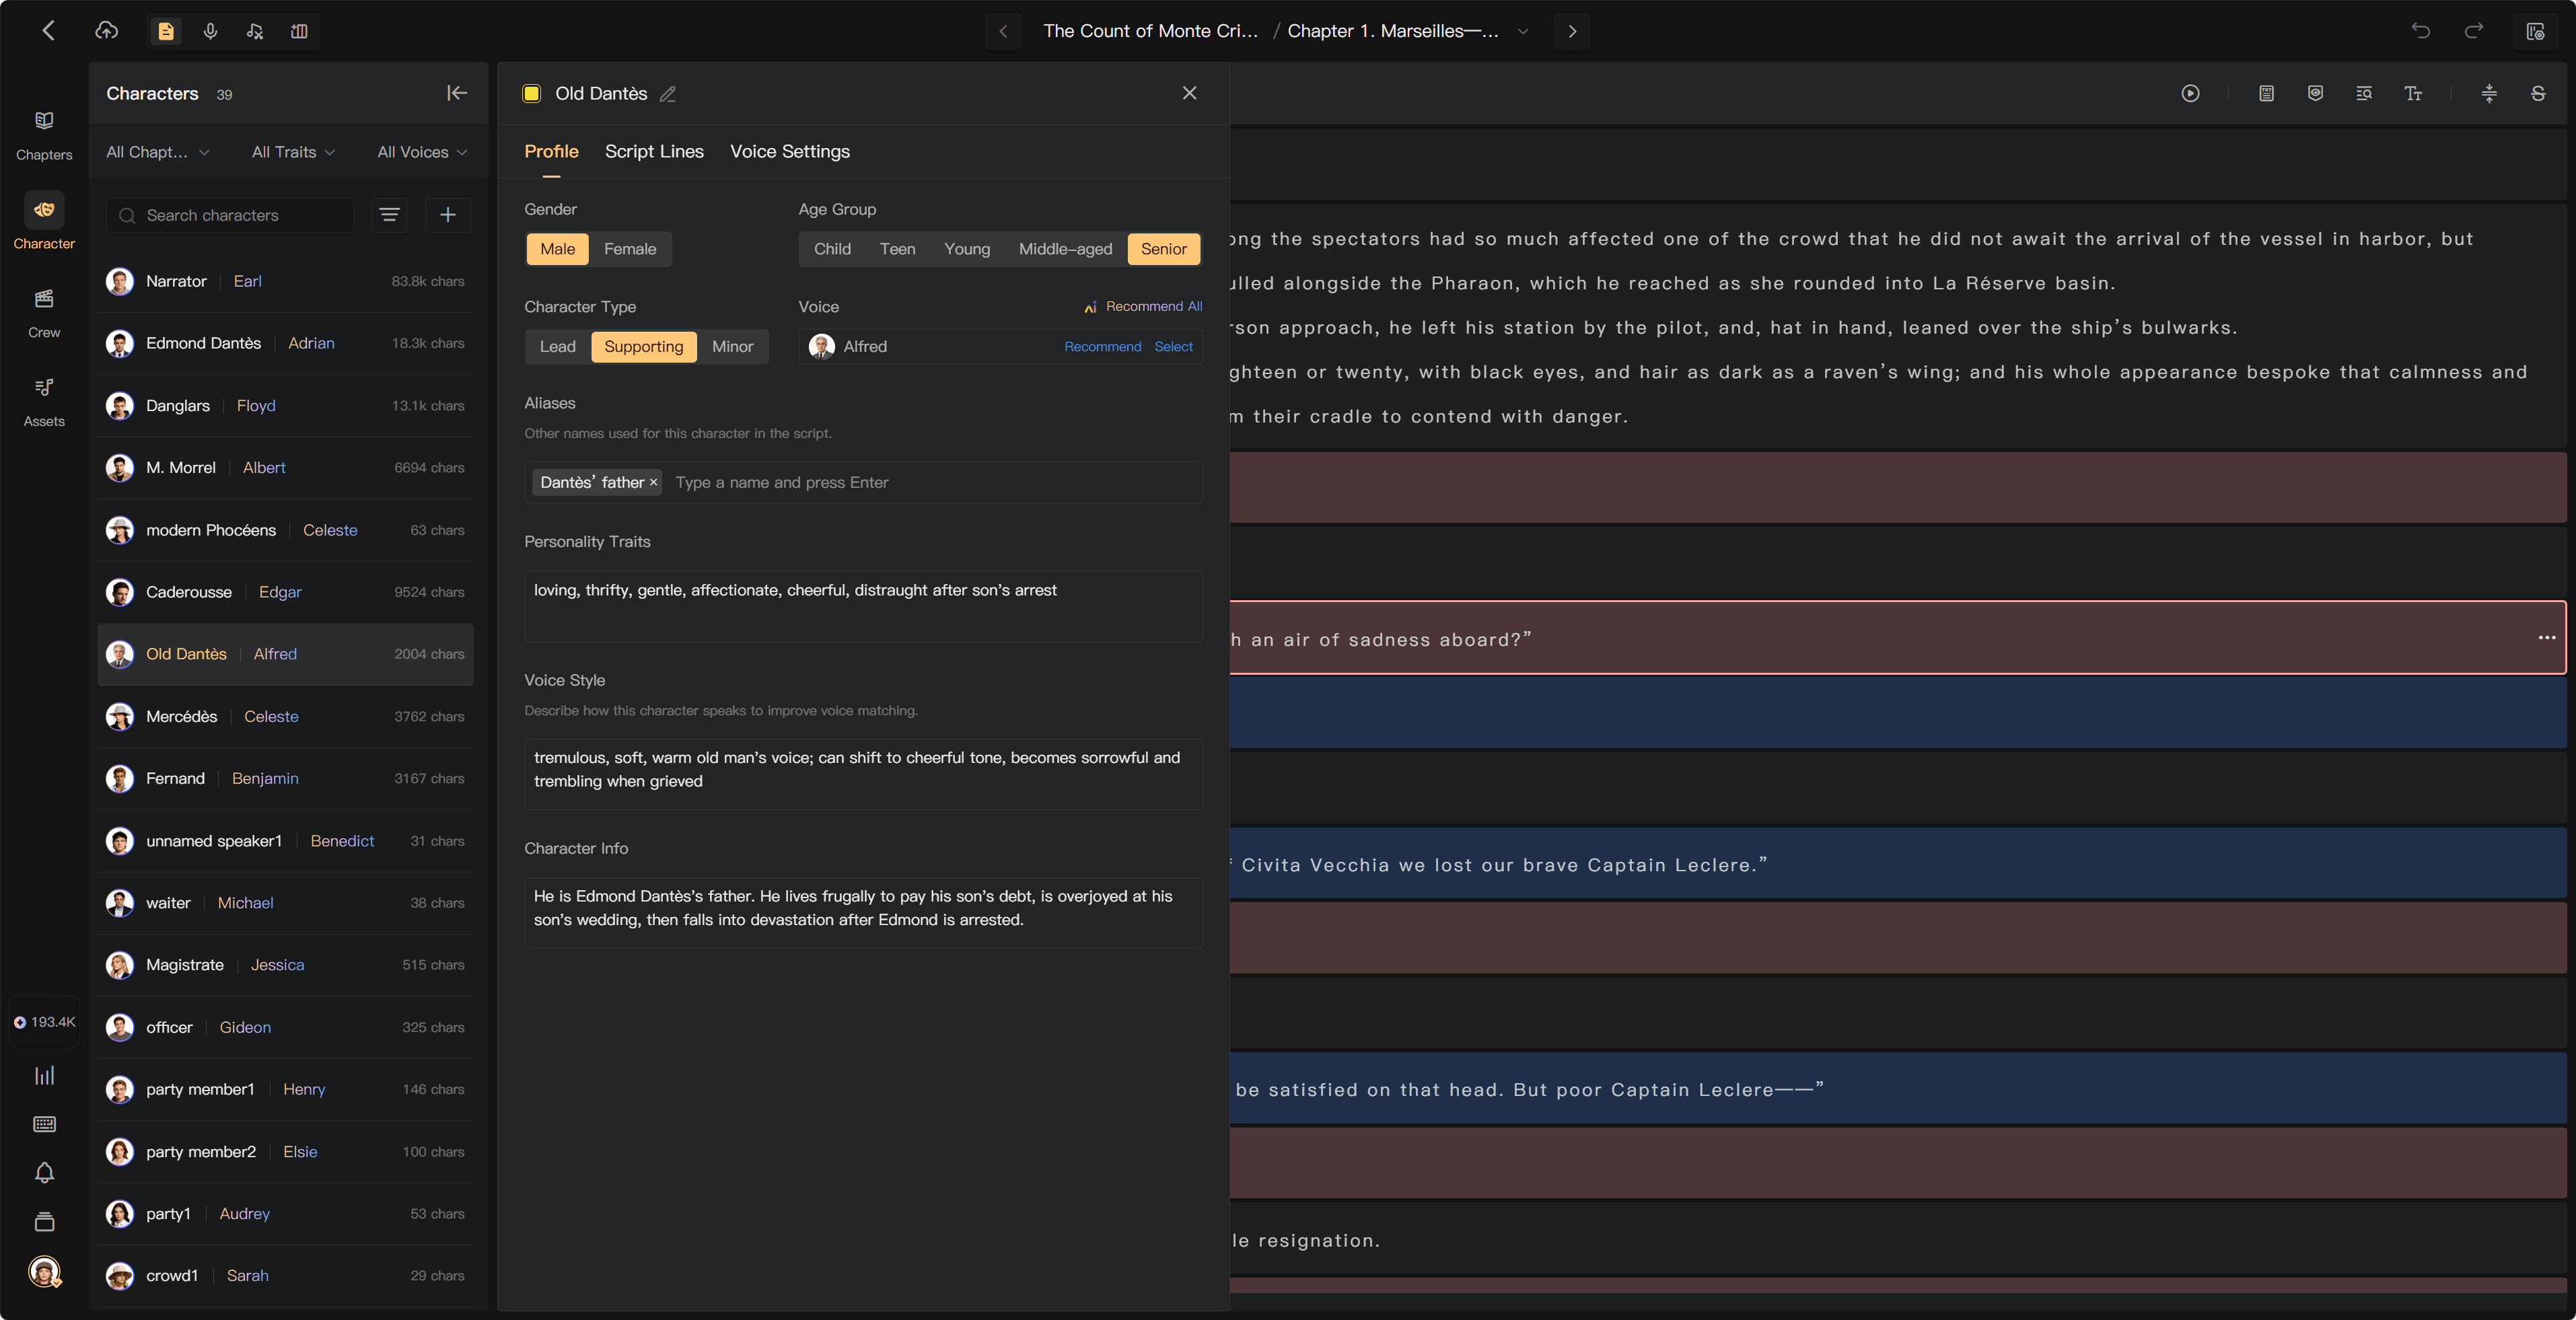
Edit the profile
Open the character's details and use the edit action. Update its name, avatar, gender, age group, aliases, personality, or voice description as needed, then save.
Renaming an entry changes its displayed name throughout the project; it does not change words already recorded. Character attributes help voice recommendations and give human performers useful context.
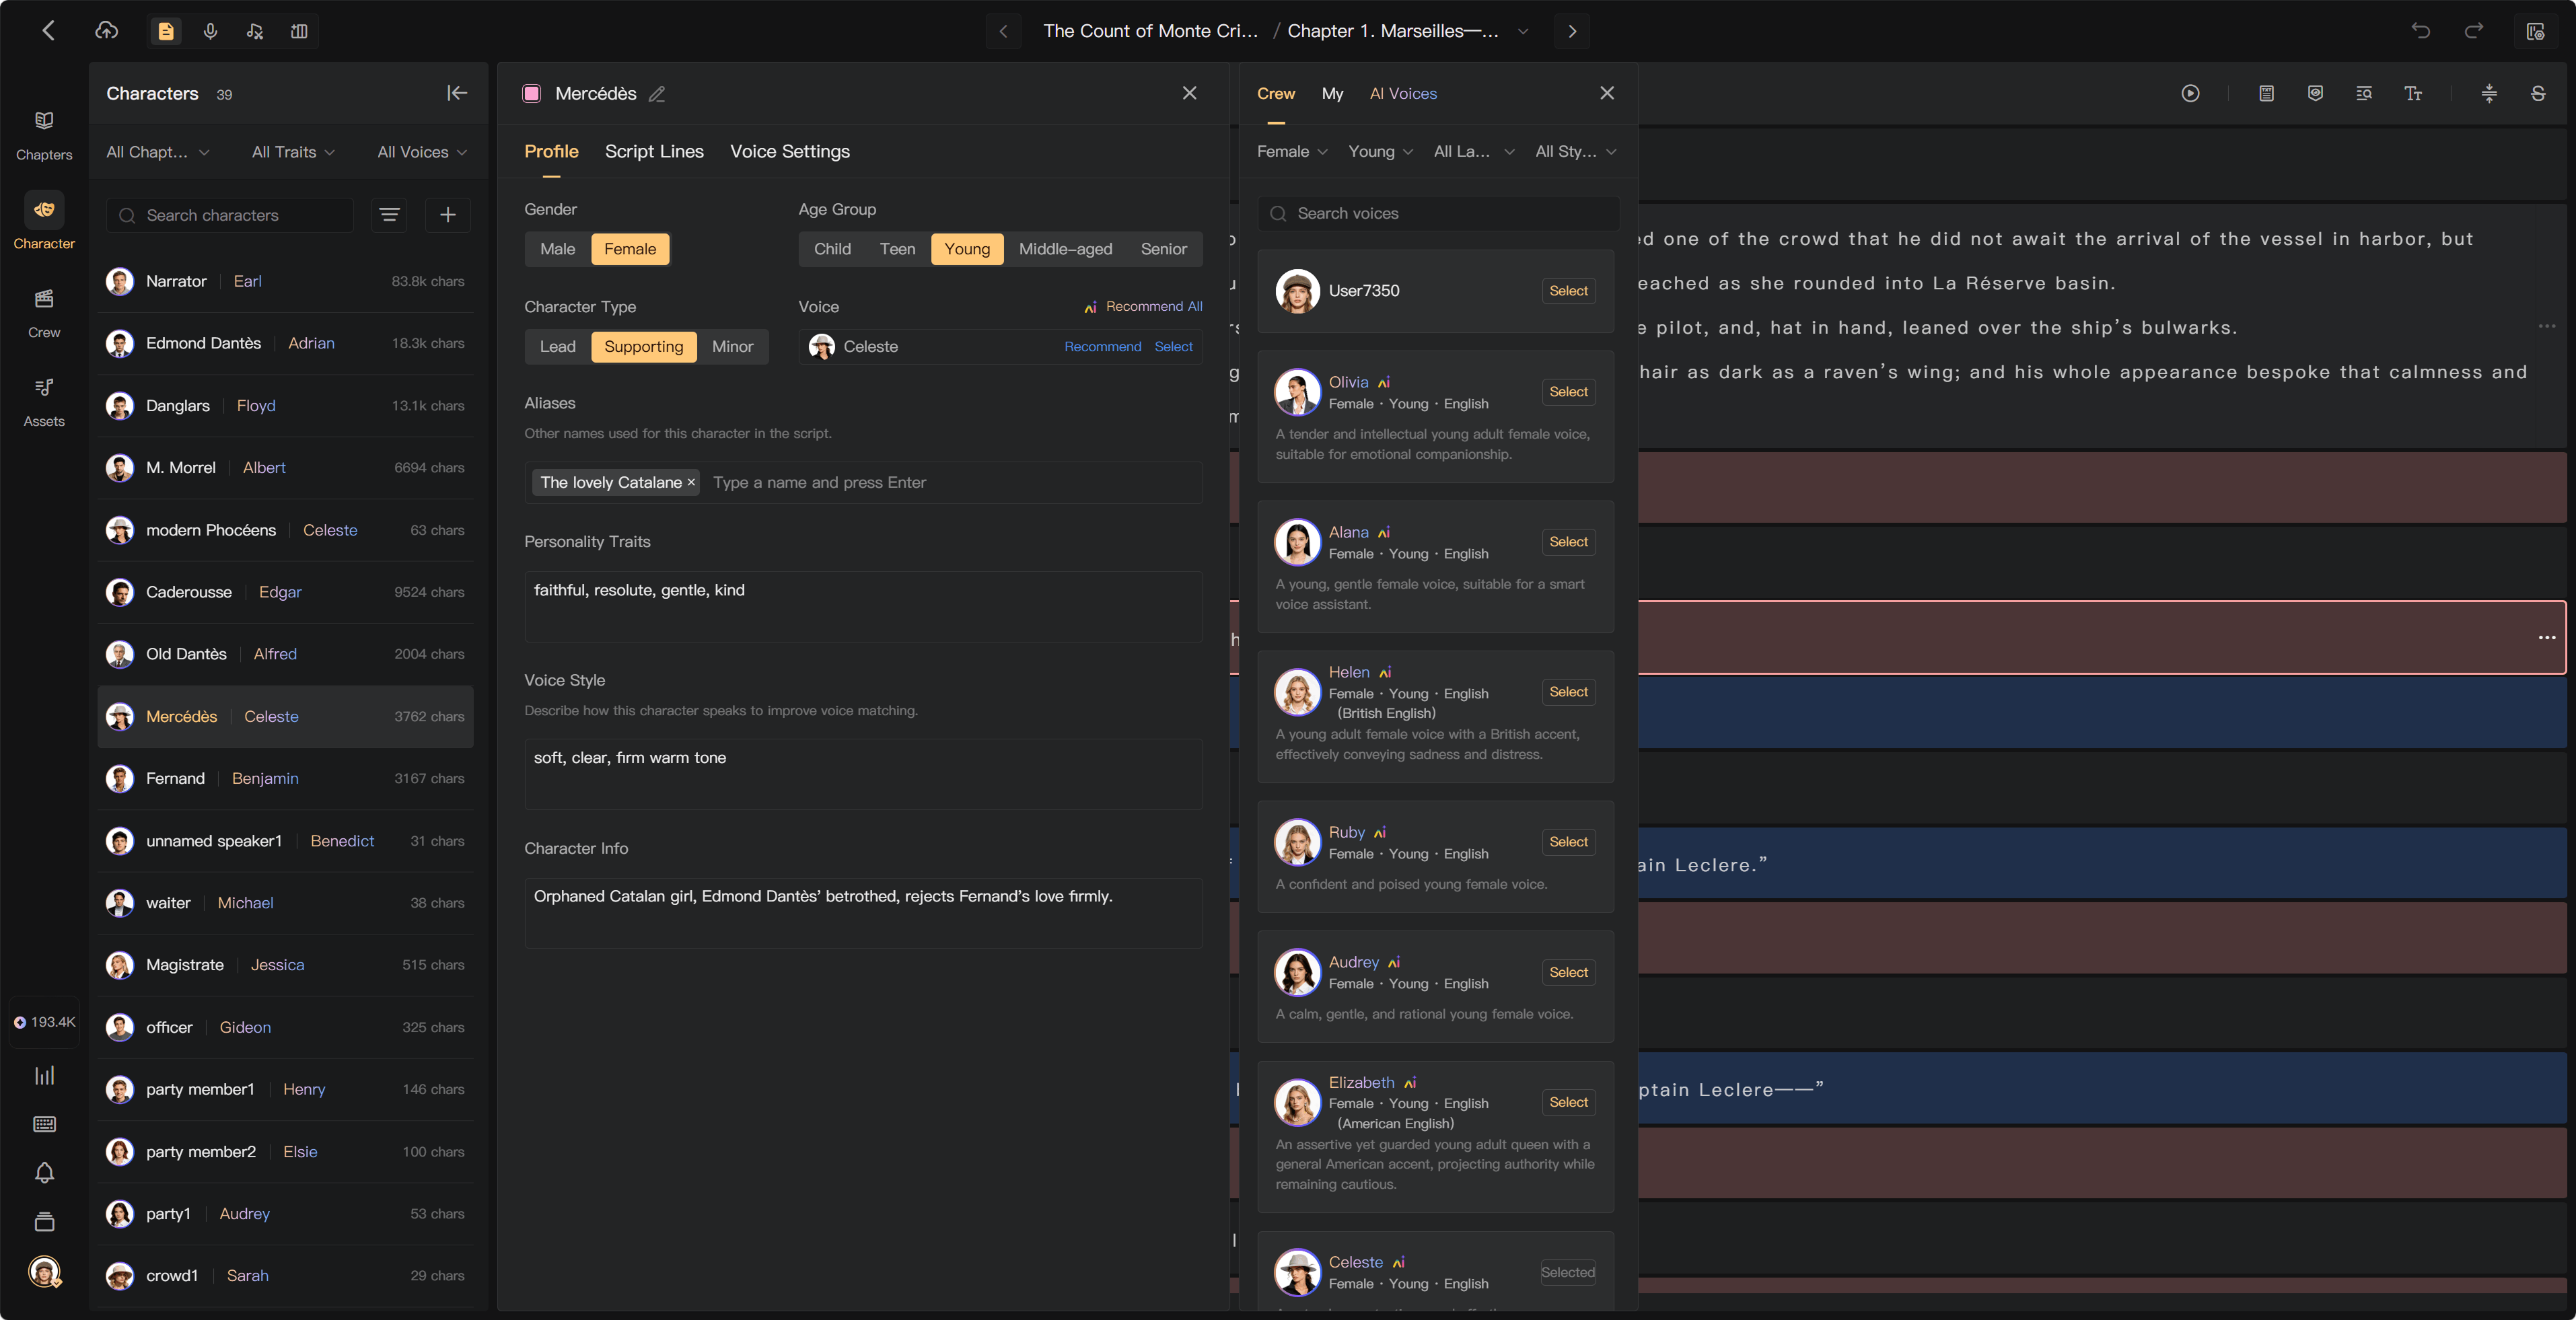
Assign or change the voice
- Open the character's voice selection.
- Choose a human performer from the available crew or an AI voice.
- For an AI voice, use language, gender, age, and style filters and listen to samples.
- Select the voice and check the character's assignment.
This assignment affects the character's lines across the project. For existing audio, review the available choices to keep recordings, re-record all affected material, or re-record from a selected chapter. A new assignment does not automatically rewrite every existing take.
Merge duplicate characters
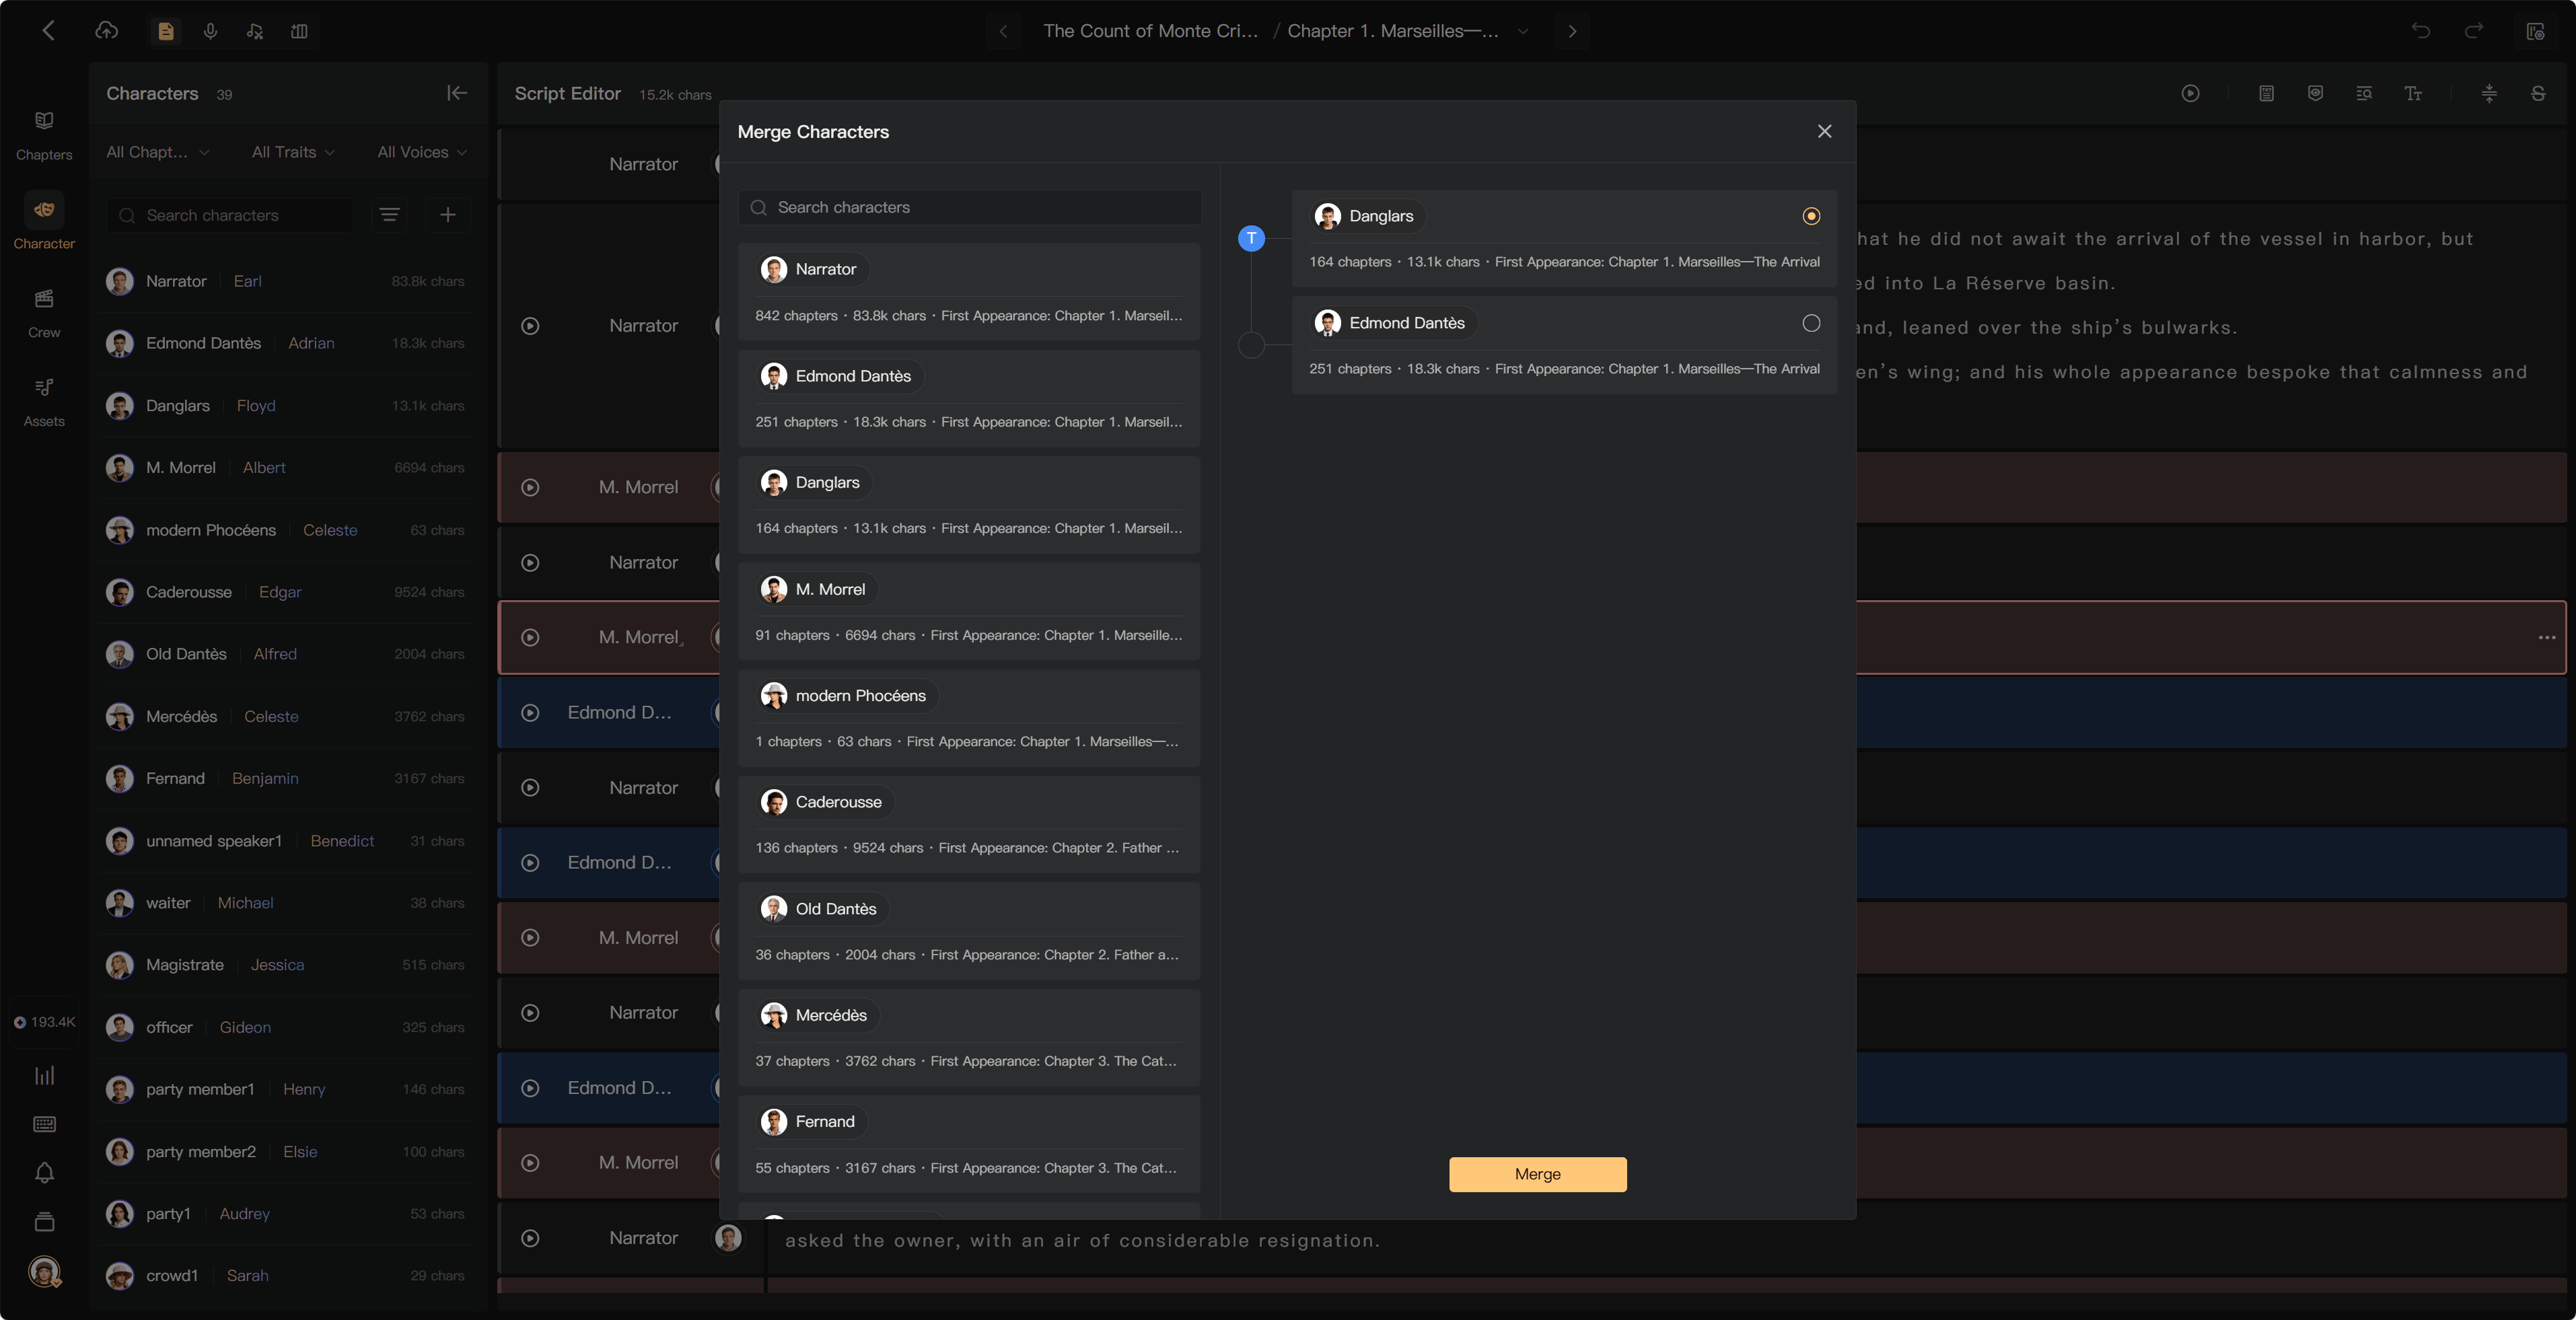
Use Merge Characters when two entries identify the same speaker, such as “Dr. Reed” and “Samuel Reed.” Confirm this in the manuscript first.
- Choose the character to merge and open the merge action.
- Select the target character to keep.
- Check that the lines should move to that target and review the affected voice assignment.
- Confirm, then inspect the resulting lines and recordings.
The merged entry is removed and the operation cannot be undone. Existing recordings still need separate review if they should use a different voice.
Delete a character
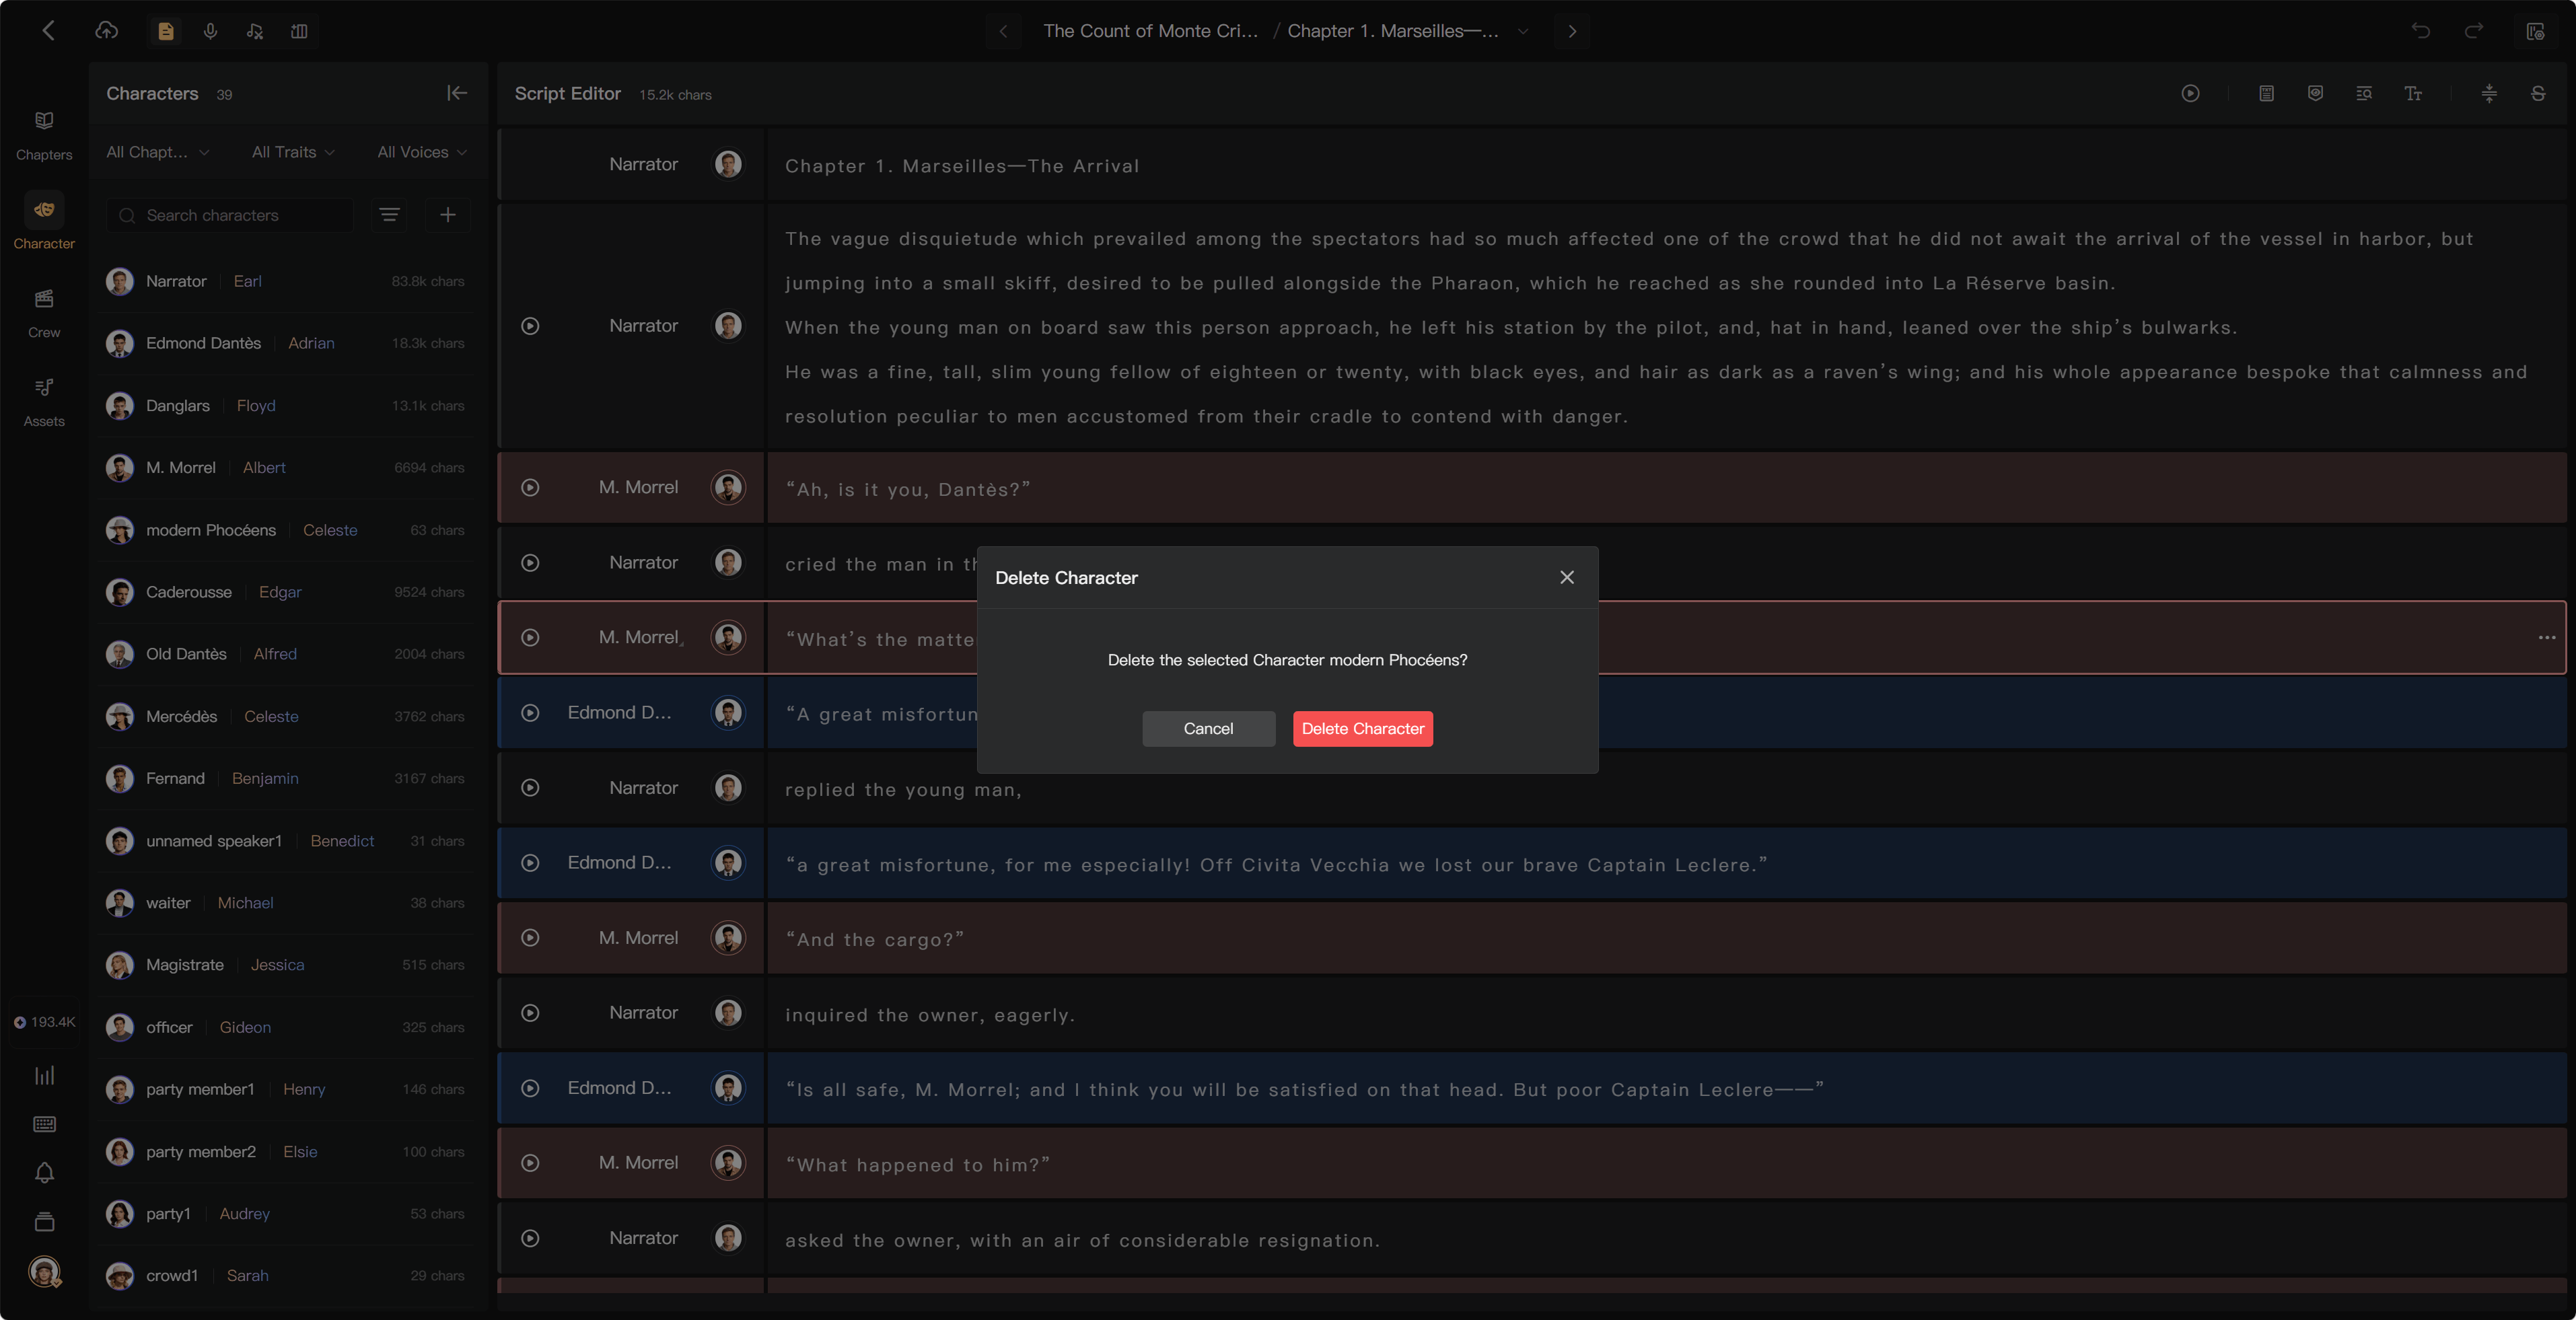
Open its deletion action and read the notice. Deleting a character does not remove its script text; affected lines need a valid assignment afterward. Review any existing-audio impact and reassign required passages before recording or mixing.
When the goal is to unify aliases, merging is usually clearer than deleting an entry and manually reassigning its lines.
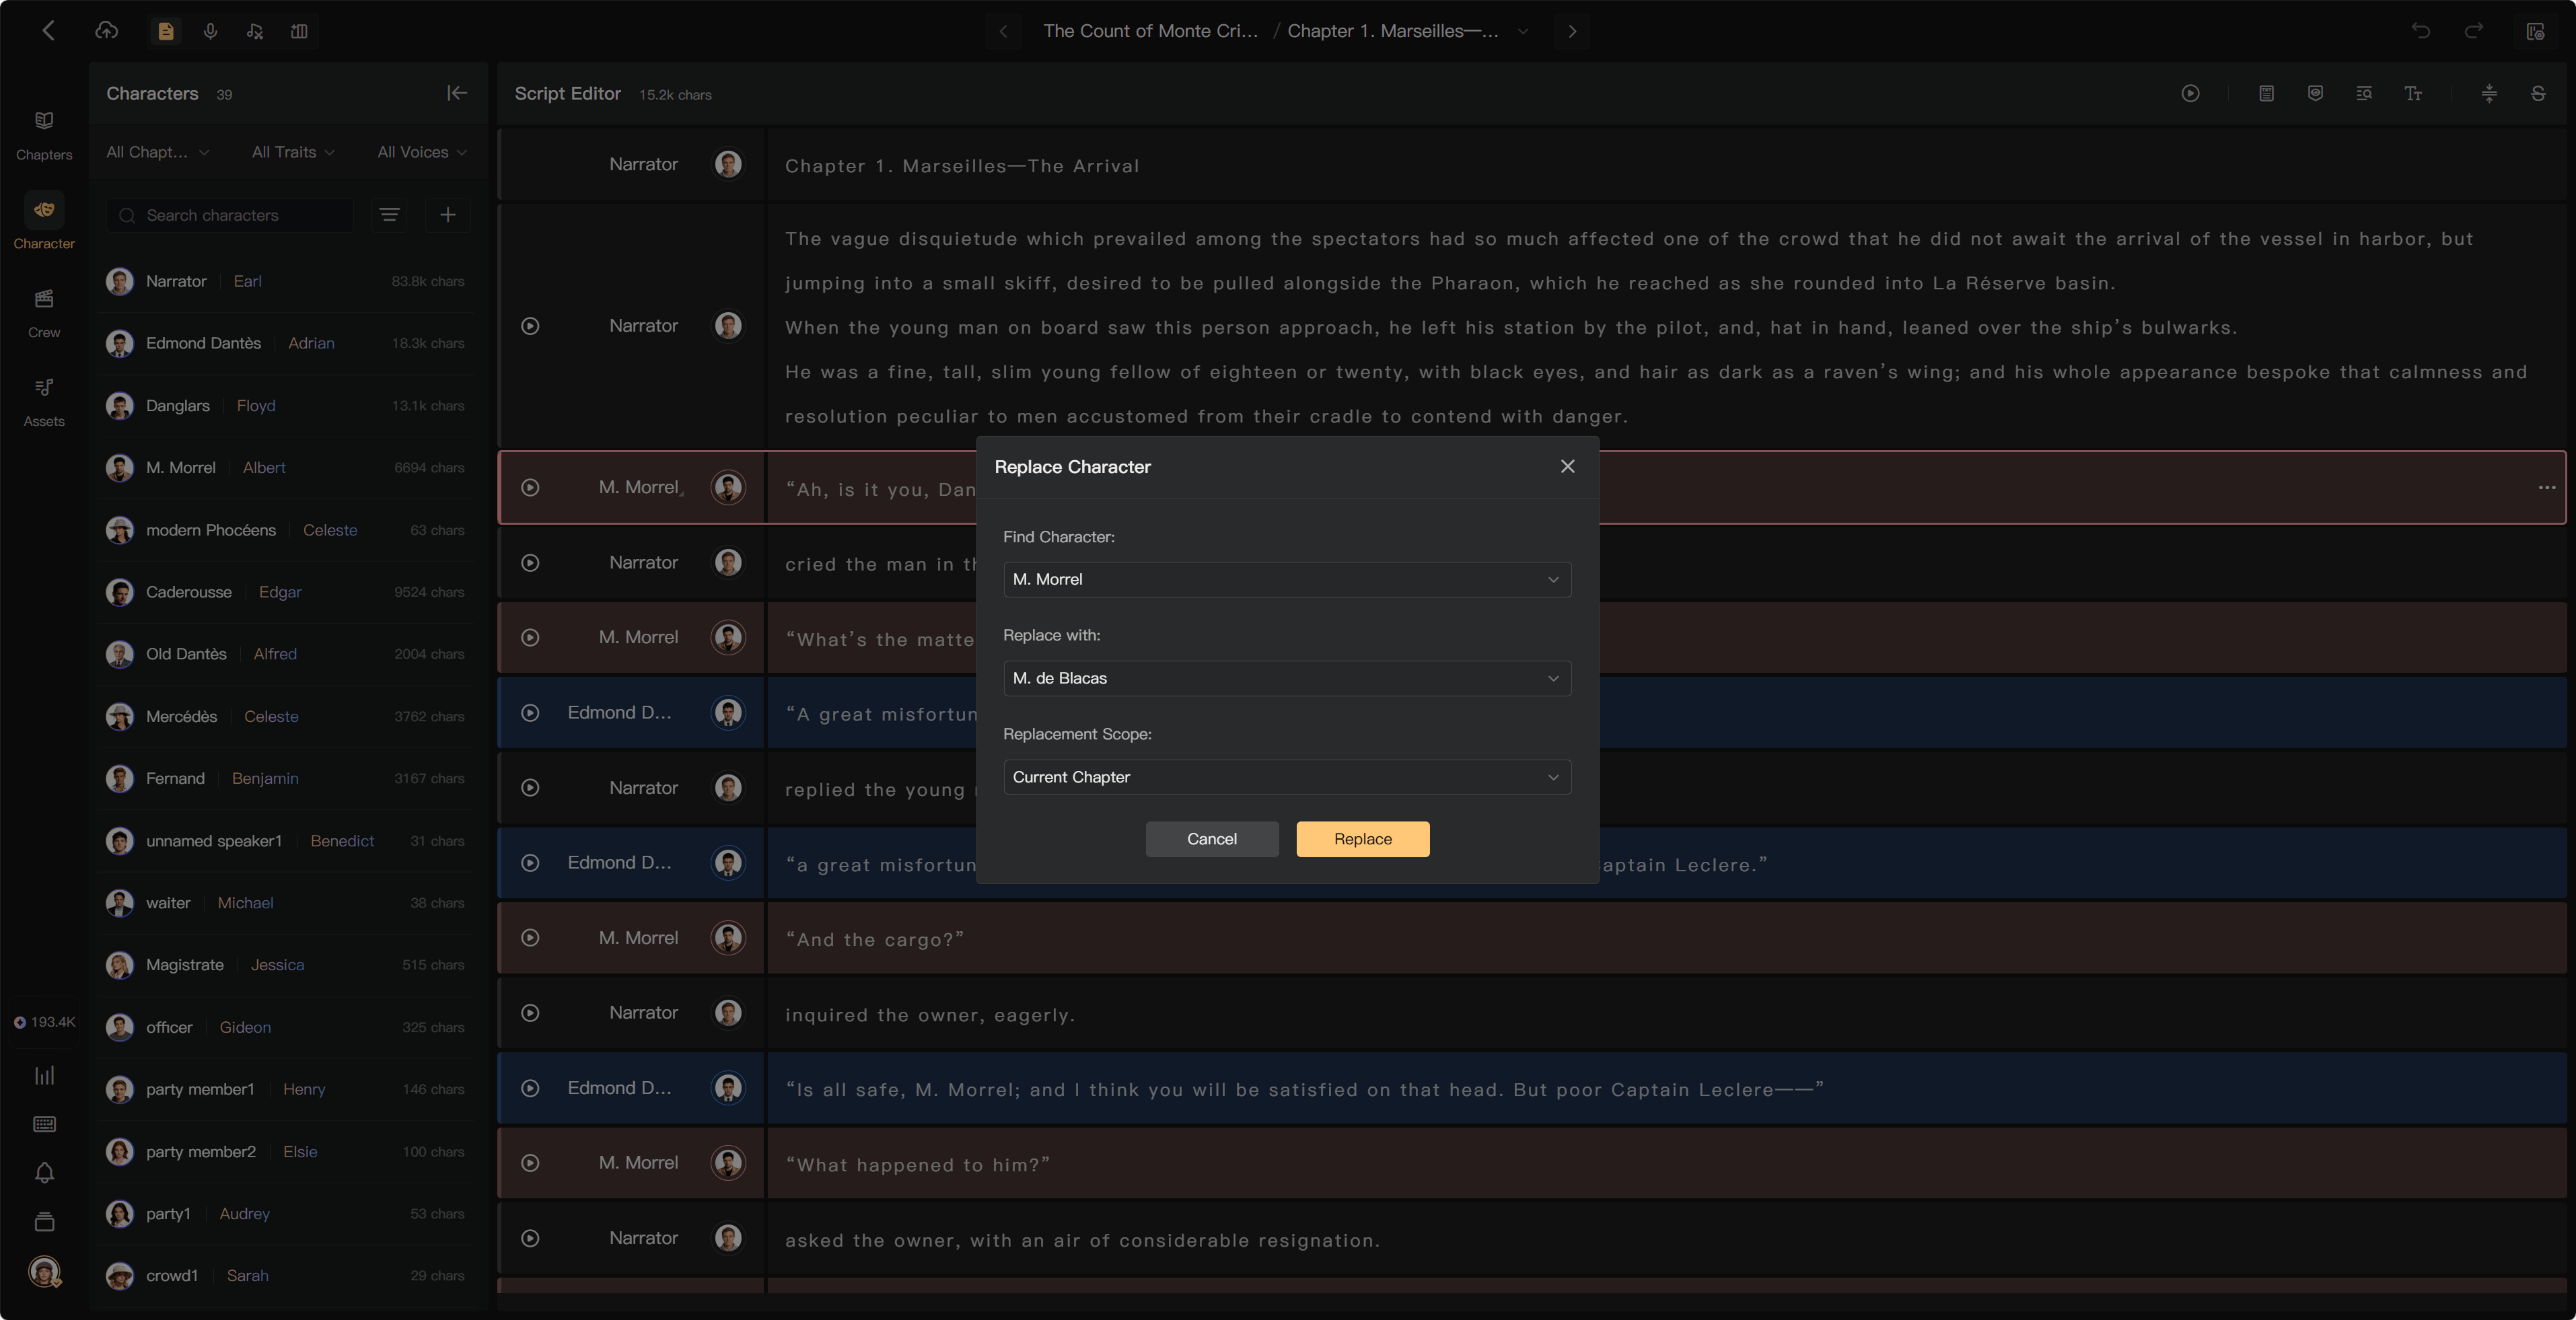
Replace character assignments
Replace Character changes which character selected lines belong to. It differs from renaming a character or merging project-wide entries.
- Select the intended segments or use the character replacement action.
- Choose the source and target characters.
- Check the chapter or segment scope.
- Confirm and inspect the affected lines, voices, and existing audio.
For broad replacements, test a small scope first. Changing assignments does not make an old recording match the new speaker automatically.
See Assign characters and voices, Recommend voices, and Crew management.